Monday, December 18, 2006

Halloween 2006

I got back pictures from Halloween, 2006. I took them with a film camera using a long exposure and slow shutter speed.


...and here's to my inspiration, Blaine Gibson.


The old man's head I made from aluminum foil and Sculpey. Over time, he fell and cracked, etc. I had to do some last minute touch-up with plaster wrap/bandages and Das Pronto modeling clay. The hair was actually cut from a cat costume.


The gravedigger-same thing as the Old Man with the earphone (but I took better care of it-although the Sculpey is starting to crack.)

This is a mini-graveyard I put together on the patio near the front door. It needs work. One day, I have in mind to make an animated Halloween short film and project it on the wall of my neighbors house (above the fountain). We'll see.


You know, I had this thing stored in my office closet just before putting it out for Halloween and I swear whenever I went to opened the closet door I would see this bride just standing there and it would creep me out, seriously! Go figure. After Halloween, I couldn't stand the thought of this thing still sitting there, so I removed the clothing and kept it in a box. Now it's not sacry anymore. When I was a kid, we would visit my aunt and uncle in El Paso and they had a suit of armor at the top of their stairs. I was so scared of it, I wouldn't go up there! I was always afraid that it would move like the one in the hallway of the Disneyland attraction where they would hire a cast member to dress up in the suit of armor and jump out at you during the ride.


I used to have a jar labeled "Sulfuric Acid" sitting next to the cat-hinting that he replaced the water in the birdbath with the contents and the bird was in mid-shower pose before it discovered that it was too late! Usually I have an atomizer or dry ice in the birdbath to create a boiling/fog effect. But at the time I took this picture, I didn't have anything handy.

Tuesday, October 31, 2006

Keeping up with the Jones'

Being Halloween and all, I thought it would be cool to post pictures of homes in my neighborhood that got into the spirit of things.


Literally, keeping up with the Jones'-Davy Jones that is!


And here's my house...


I try and add a little bit every year. New adiitions this year:


HAPPY HALLOWEEN everybody!!!!

My Office

When we moved to our new house (and seeing all those HGTV/Extreme Makover:Home Edition shows), I decided that I wanted a Haunted Mansion themed office. So I drew up some concepts of what I wanted it to look like:


I'm not sure how to introduce this so I'll just say it..."Here it is!"


Now...people either say it is the coolest thing they've ever seen or I need professional help.

The green wallpaper with the Lily pattern is actually used in the foyer of the attraction. A company up north in Benicia, CA that makes authentic hand-printed Victorian wallpaper called Bradbury and Bradbury Art Wallpapers (www.bradbury.com) happens to sell it (Dresser Tradition 2-Ashes of Rose Code:LYW Pattern:550 ). The purple/blue wall is a stencil that I made. It is of the wallpaper pattern in the attraction as well. It took a few hours to paint-I still have to paint in all the little pupils in the eyes. The oval mirror is actually a two-way 50/50 mirror. Behind it is a relief sculpture of the Hatchet Goul (to be posted later with an update) that shows through via a light on a timer. The effect is an image that slowly appears and disappears much like the Cheshire Cat in the mirror at the Mad Hatter Shop at Disneyland.

I was looking in a lighting shop in Hollywood (LAMF 660 N. LaBrea Ave. Los Angeles, CA 90036 323-932-6000) for a 5-light wall sconce and but by chance, I happened to find the wall sconce of a Griifin/gargoyle that is the exact same one that is in the attraction that is located by the staring statues, just before you get onto the Doombuggy.

(I'll post more pictures and details later).

The Bat in the Birdcage

"She's only a bird in a gilded cage..."

One of my favorite unused concepts from 'The Haunted Mansion' was this one by the late Legendary Disney animator, Marc Davis...


(I hope one day they might decide to put this in the attraction.)

I was so inspired by this piece that I decided to make it. I sculpted the bat in Sculpey and made a mold and hollow cast of it so I could fit a battery pack connected to two LED lights (for the eyes). I also sculpted the bones. At first, I was going to actually going to construct a cage but I thought to look for one in a pet store that I could use. Originally, I had sculpted the base with the ornate flange holding up the cage but-it fell and broke. Typical. Anyways, this is how it turned out:


One year, we had a huge Halloween party and I invited Alice Davis (Marc Davis' wife) to the party. I was proud to show it to her. She LOVED it! Although...she had one thing to say about it and that was I had forgotten Marc's favorite thing about this concept-and that was the blood in the water trough! Oh, well.

Monday, October 16, 2006

The Coffin

One year, I decided to build the coffin-where the guy is trying to get saying, "lemmeouttahere!".So, I went to Home Depot, bought some MDF particle board, some molding, etc. and built it. It turned out great-but it was heavier than Hell!!!!

Every year it was a big ordeal-I constantly had to get a neighbor or a good friend to help me move it into place.

I sculpted the hands. The lid was made from styrofoam. I built a mechanism inside that would open and close the lid. I put it on a folding card table and put a skirt around it and whah-lah! A coffin.

THE MECHANISM:
The mechanism worked great-for about 10 minutes, then the motor burned out, Not enough torque, I guess. Here's basically how I got it to work:


THE HANDS:
I sculpted the hands by first making a wire frame.


Then I covered it with wire mesh, then foil to create the bulk.


I then covered it with RigidWrap (plastercloth). I then used a product called Das Pronto*(It's an air-hardening modeling clay). The clay graps on to the natural tooth/coarseness of the plastercloth. It has a fast working time. It usually cures within a few minutes but you can keep it pliable by applying a bit of water to it as you work with it (Tip: ofr storage, keep it in a ziploc plastic bag with a few drops of water in it.). It can then be sanded to a smooth finish.
*Das Pronto-the name suggests that it might be a German-Mexican mix. but now, the package just calls it 'DAS'-and it's made in Italy! Go figure...

I drilled a few holes in the styrofoam lid and mounted candlesticks on the top. I left them a bit loose so when the lid rose up and down, the candlsticks would wabble like they were about to fall over. The candlesticks were a wood craft bought froma local craft store (Michael's) and I faux finished it to look like brass, etc. The candles I made by taking plastic pipe and applying hot glue to make it look like the candle was dripping. (But that's for another post.)

So here's the final result:


Sunday, September 24, 2006

The Haunted Mine Tunnel

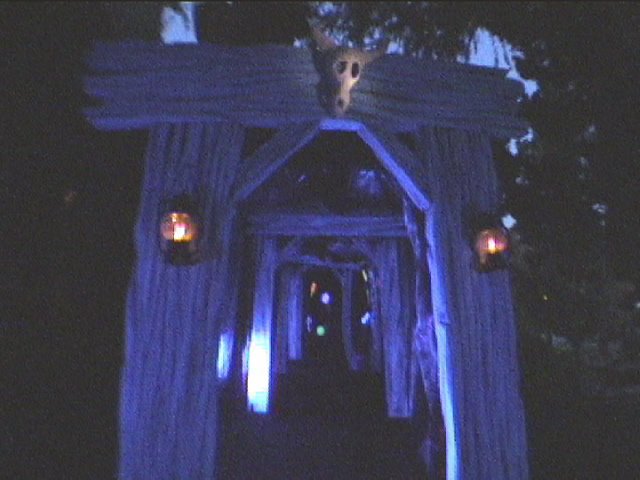
Every year the kids asked if this was a haunted house (that they could go in). Every year I had to say. "Sorry, no". Then I got this idea to make one. We had a narrow strip of yard at the top of the steps that lead to the side of the house where their was a huge covered porch. So, I cam up with this idea of building a tunnel. At the time, I was working on 'Sweating Bullets' (a.k.a. 'Home On The Range') and it inspired me to do a western themed "attraction".


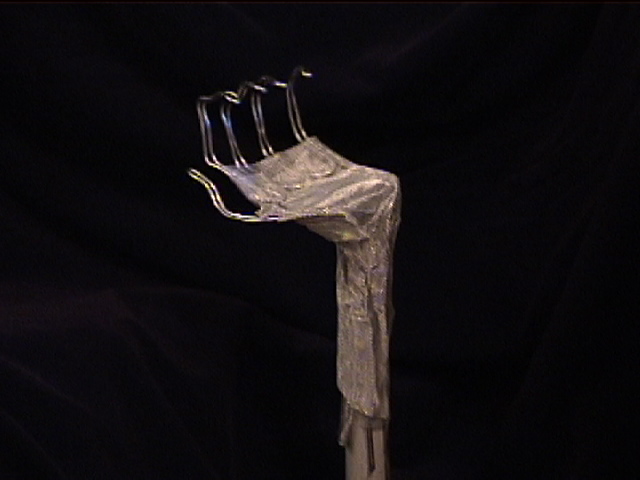
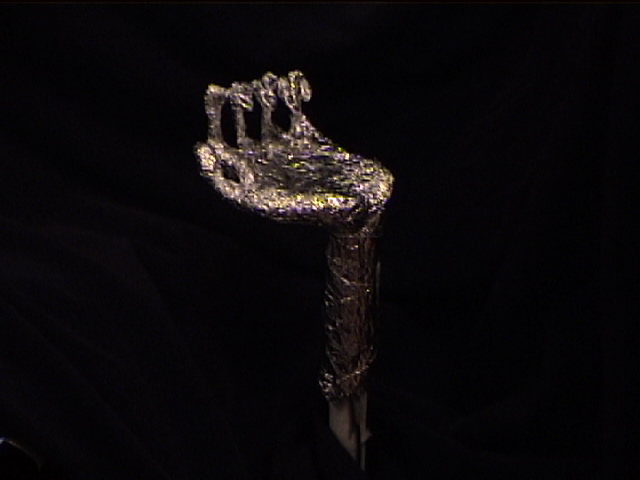
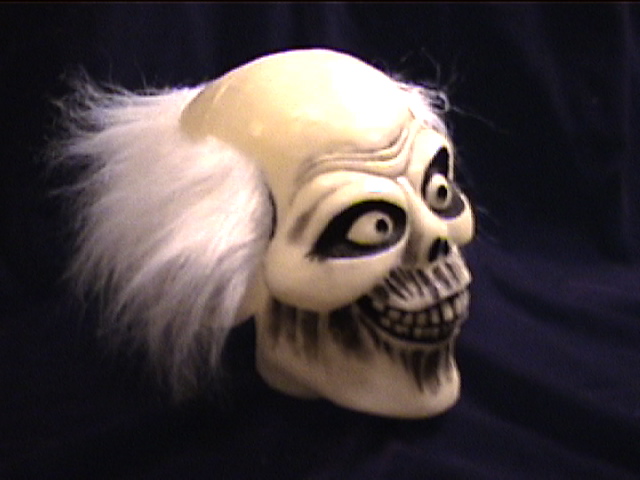
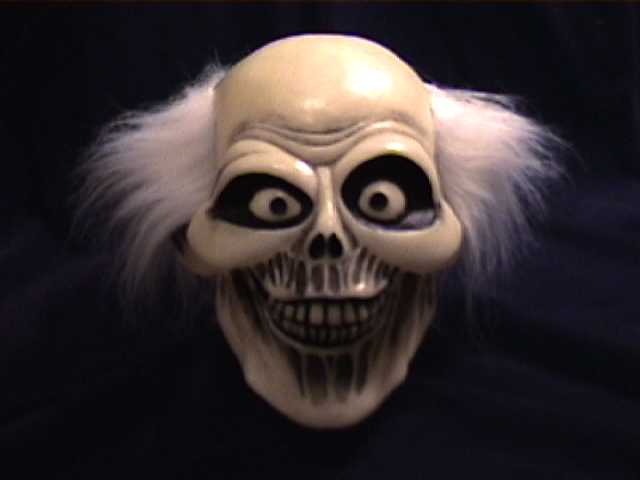
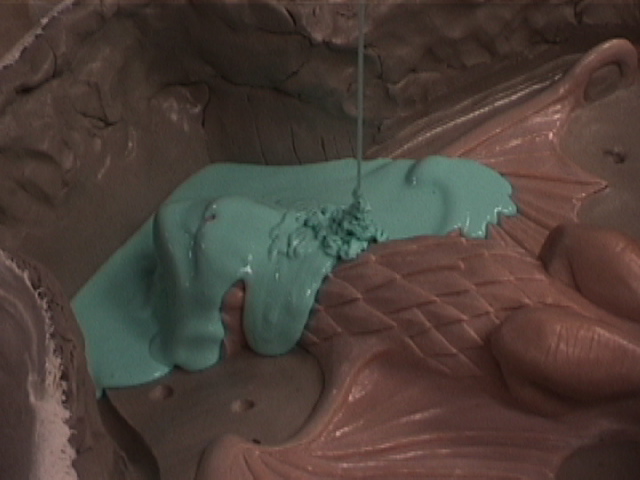
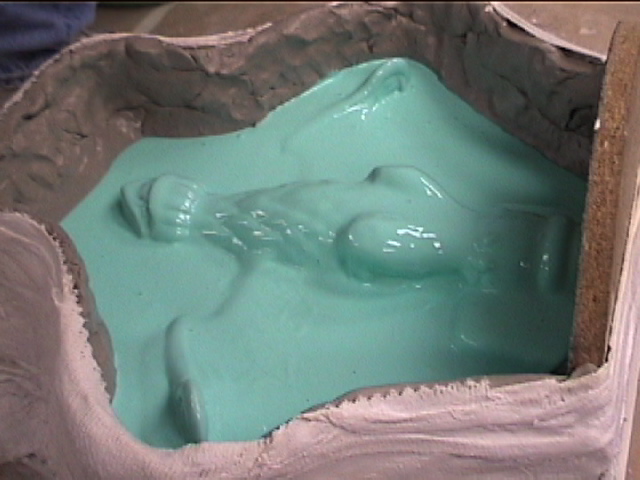
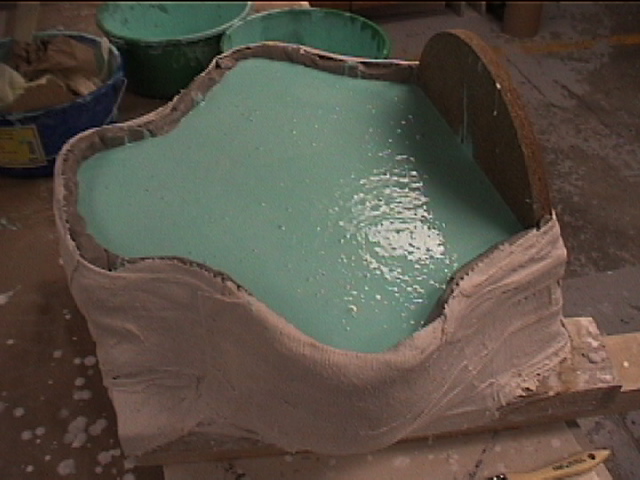
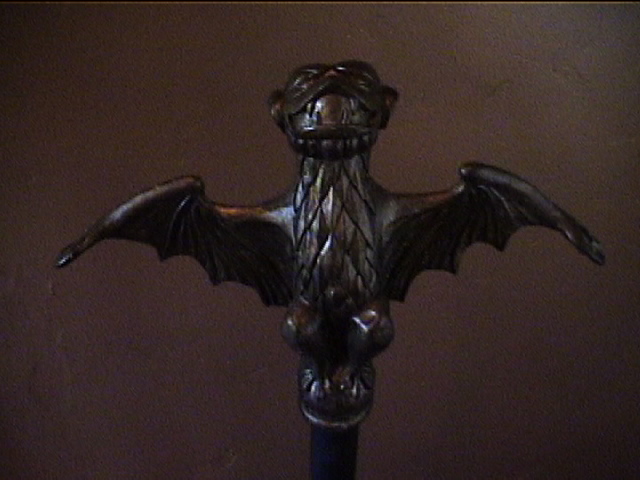
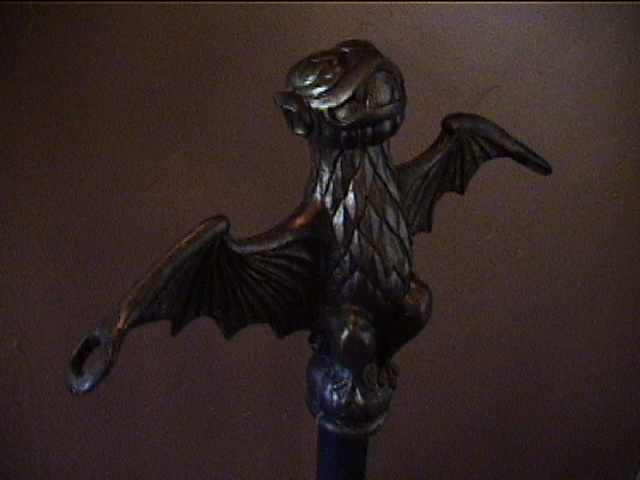
In the hat building, the one off of the 134 freeway) they had these production areas that used to serve as the hub for each show called POD's. At the entrance to these POD's, they would construct these huge monstrousities. It was llike entering a theme park attraction (They don't do any more, of course). Well. I was admiring the technique apllied on one of them and found out that someone form the ARL (Animation Resaerc Library) had made it. I made an appointment to meet with this person to discuss how he fabrictated this, etc. He was a really cool guy and happened to have pictures at his desk (like a brag book that one would have of their children). Anyways, I had told him what I wanted to do and he offered to help me buy creating the frame and doing a rough cut of the styrofoam. Here's what eventually came from that meeting:


Anyways...getting back to the tunnel, after learning how it was done, I made the entrance to the tunnel. The rest I used PVC pipe and plastic sheeting and a good thing, too because every year it rained and everything got wet. One year, I thought it wasn't going to rain and built the tunnel out of paper. I used the the stuff that you put down to protect floors
while doing construction. We crumbled it up then flattened it out again and the texture left from that crumbling looked like boulders-it was great! But alas, it rained just a few days before Halloween and I had to rush to reconstruct the tunnel again.

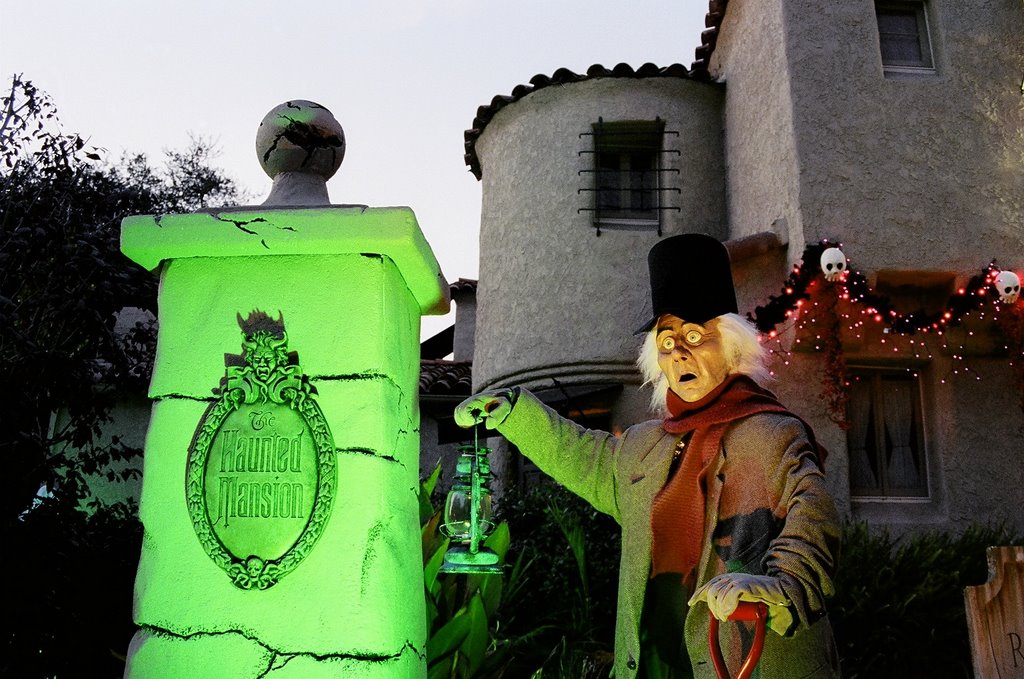
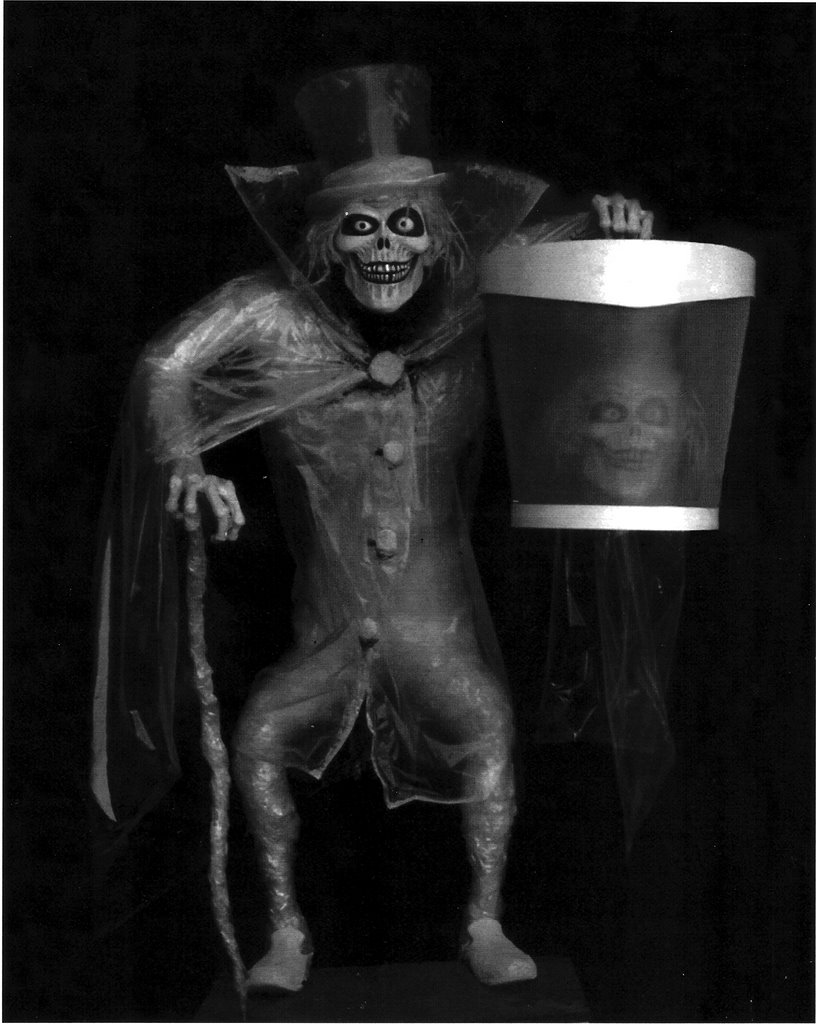
Before I go on, I got to give credit to my dedicated and true friends that helped every year to construct this thing and help set-up. It usually took a whole day, if not two! Thanks, guys!!!! Also, thanks to my brother in law for helping construct the "full attraction" soundtrack. I used clips from the hammer strikes from "Hi Ho, Hi Ho" (the Seven Dwarf's song) from 'Snow White', wind and crystal chimes from the Matterhorn, and thunder sfx from the Haunted Mansion. I also took area music from Frontierland and layerd thunder sfx over it-it sounded great! I got a lot of compliments on teh sound design. People asked where I got it. They were surprised to hear that it was from (the usually "cheery") Disneyland.

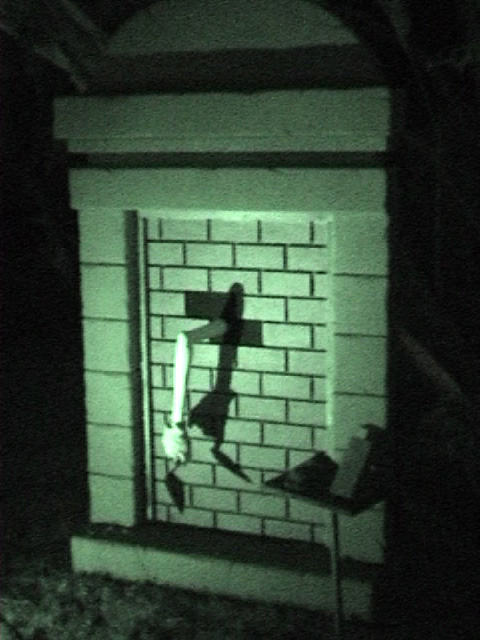
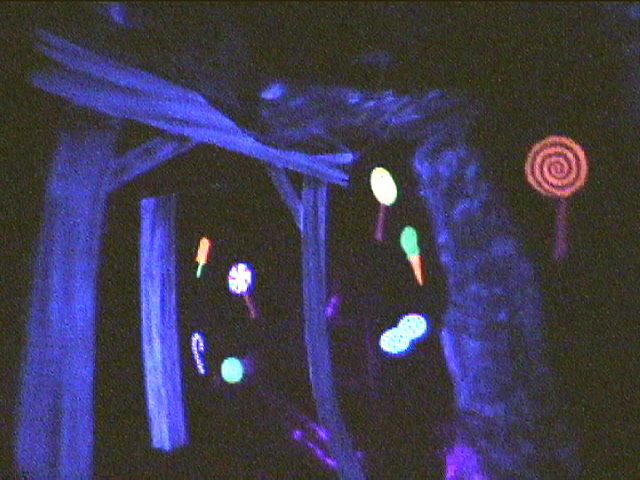
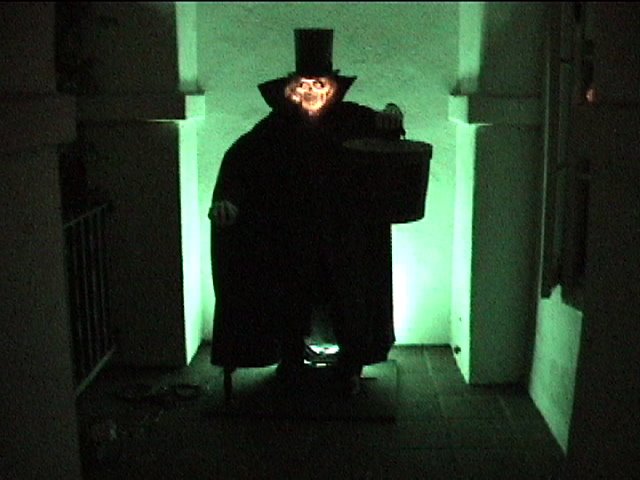
I decide to give it a story. It wasn't just any old rock mine, it was a "rock-candy" mine! At the end, I dresssed up like a prospector (with a big paper mache hat that I had made-I looked like "Yosemite Sam") and built a little mine cart to keep candy in. I also made cardboard standees of barrels of dynamite and a little cardboard detonator that was hooked up to strobe lights and a little thunder sfx box and I would pretend to blow up the mine as the kids left. (I wish I had pictures-I'm sure my friends with digital cameras do. I'll have to bug them about it).


I remember one year, I had so much hooked up and a fuse blew. All the lights went out and everyone cheered-they thought it was part of the show. Meanwhile, I'm running around with a falshlight trying to find the circuit breaker.

Adults would come up and I'd offer them candy. They declined and said that they just came up to see the show (and even applauded one time). One kid actually had the gall to say that they liked it better last year. ("Everyone's a critic.")

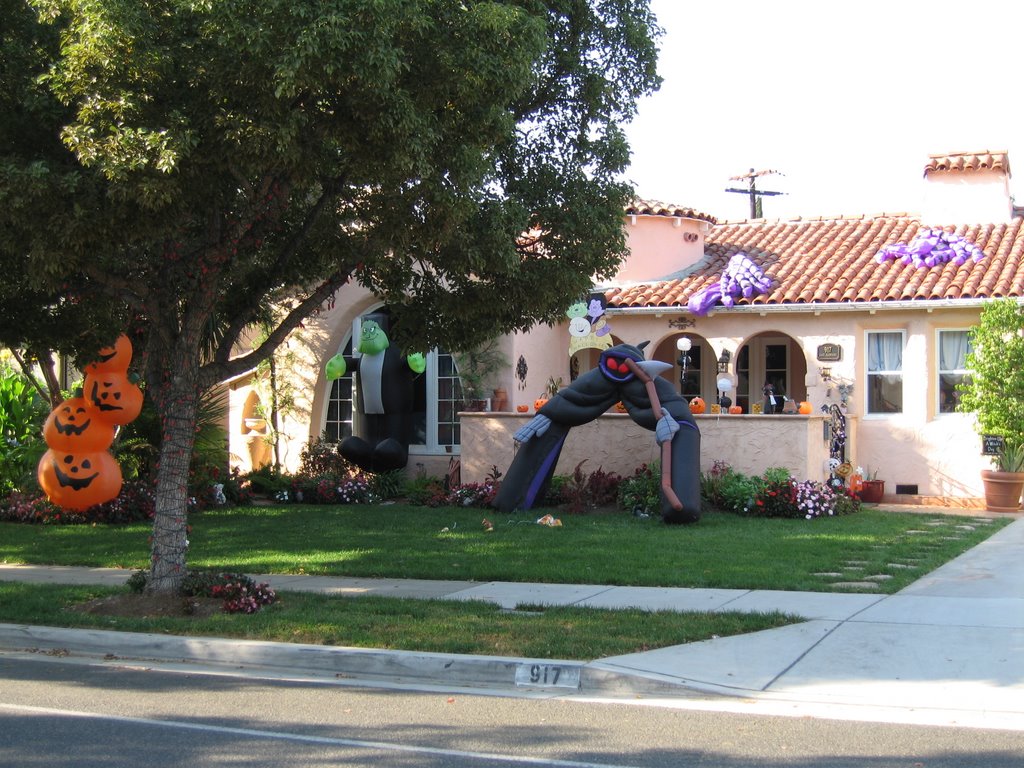
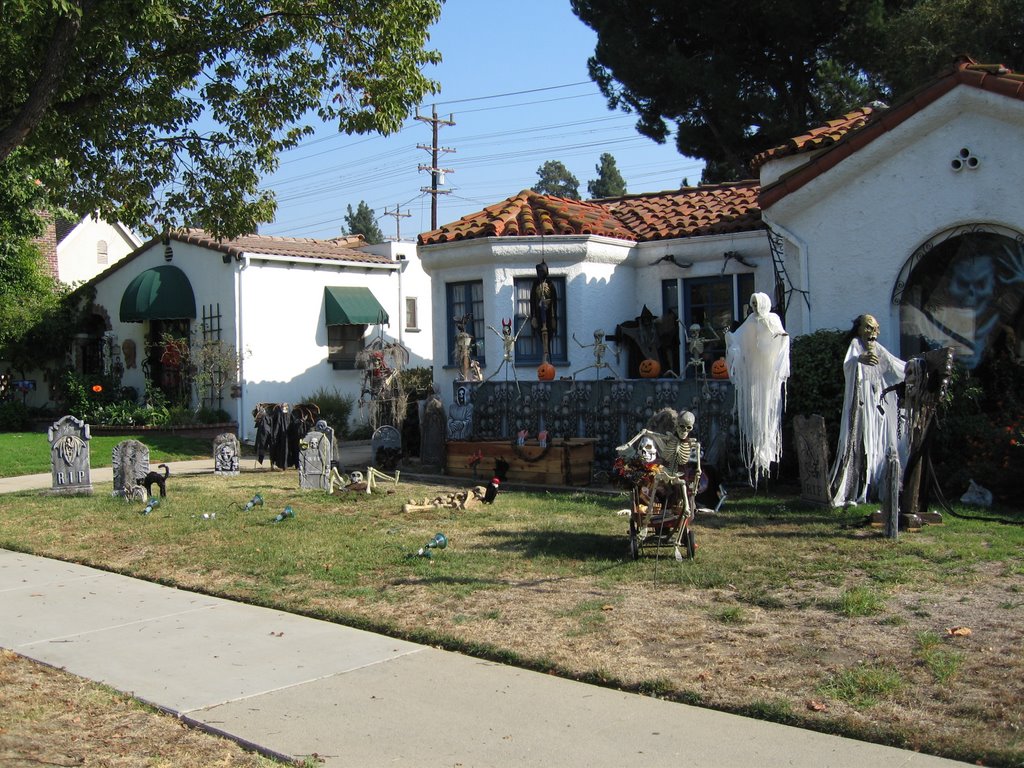
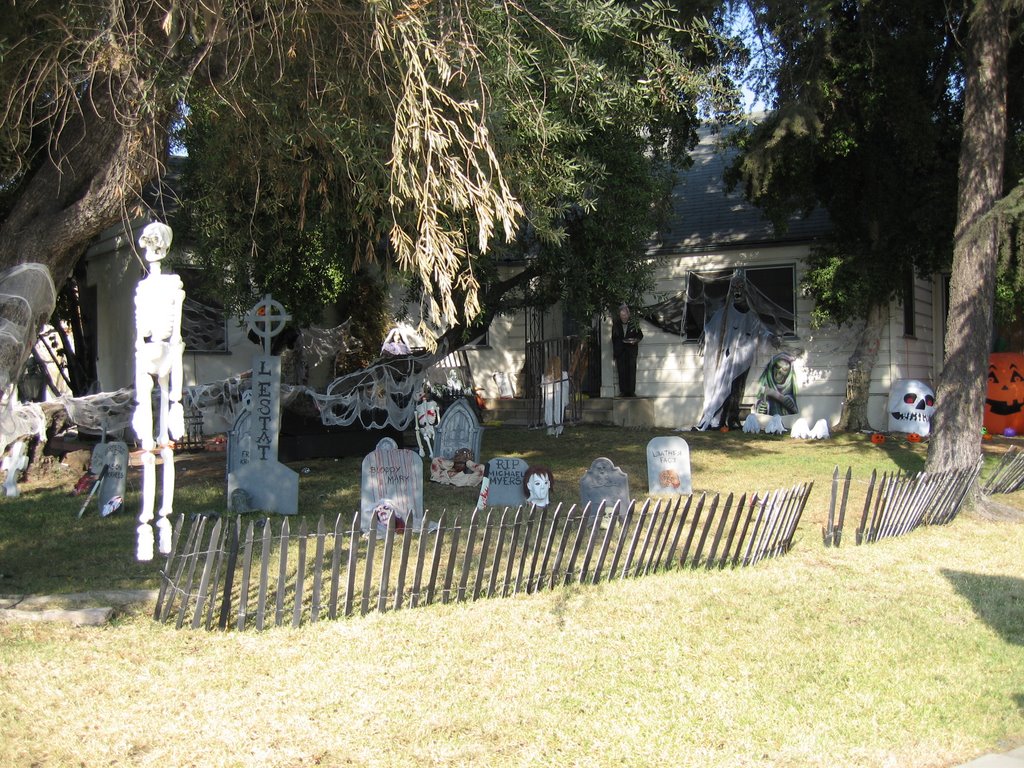
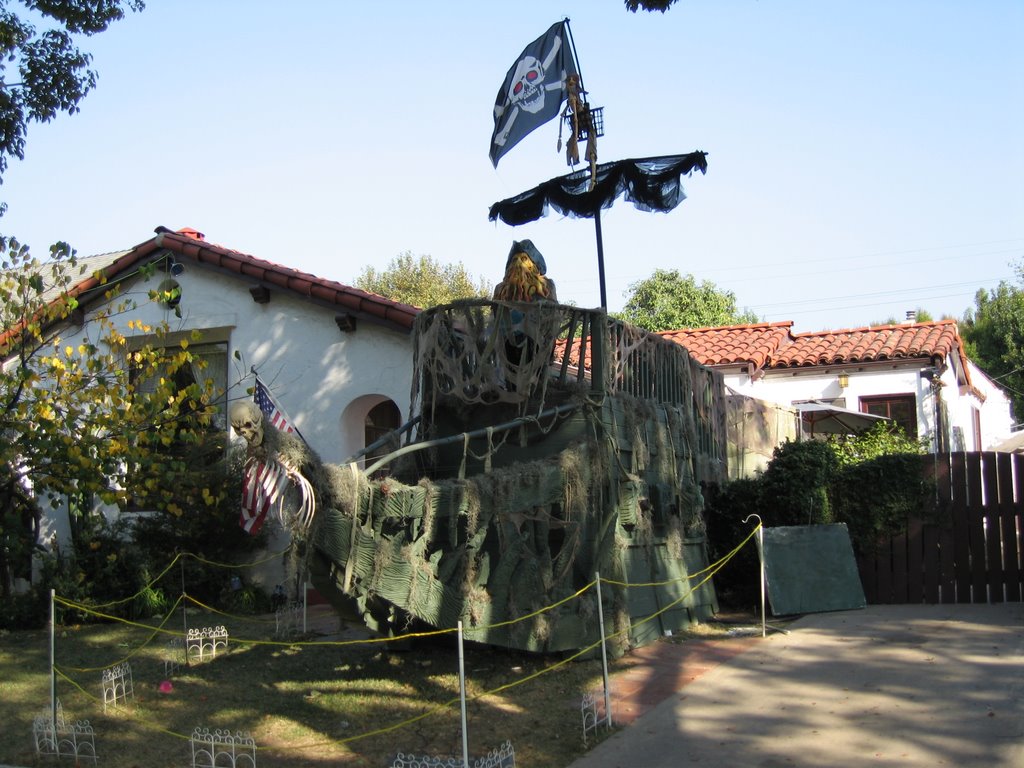
Yes, Halloween was great. That was before kids. Now, it's a whole different experience-but just as rewarding if not more so!

I keep thinking that until they turn 13, my kids will think that I'm the coolest dad but after that, I can just hear, "Dad, your not going to put out the Halloween stuff out again this year are you? My friends will see."

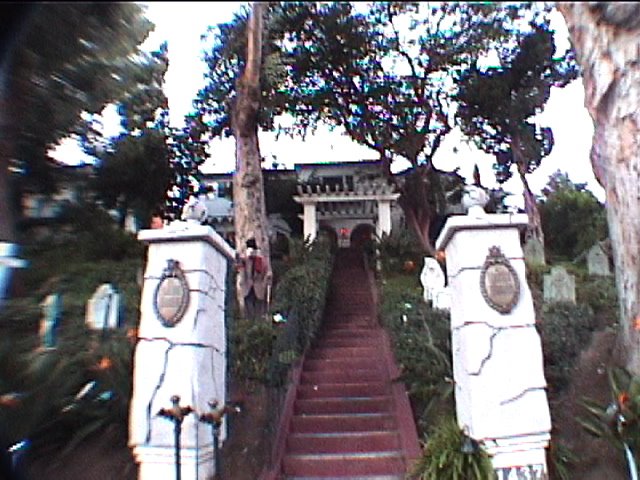
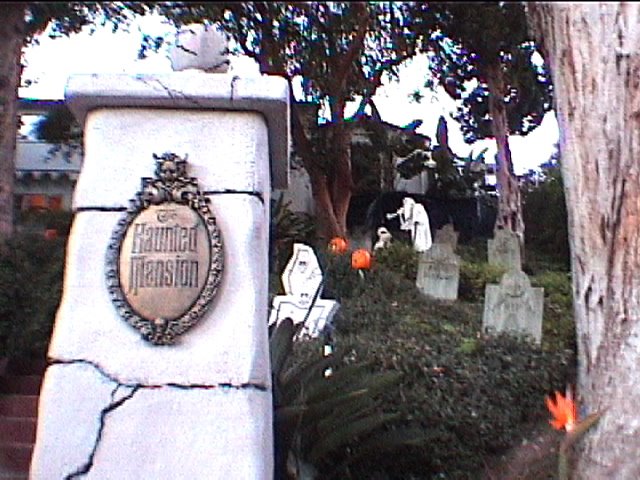
Here's a video "Ride-through" of the mine tunnel that I built for 2003:


...and here's the "new and improved" tunnel built the following year (2004):

The Old House

Here are some pictures of the house that we used to live in (I refer to it as "the old house").


You may notice in one of the pictures a Real Estate sign and some characters. That's for another post. The Real Estate sign was a gag that has a funny story to it. But here you can also see some tombstones that I had made with plywood. They were so heavy! And I had to carry them up and down that hill every year. Plus I was nervous about the kids running up and down the steps. I thought they wouldn't actually climb all the way up but they did.The house to stop traffic. There would be a huge pile up of cars for at least a block in each direction. Mini vans full of kids would drive up, the door would open the kids would pile out runn up the stairs, get their candy, run back down and off they would go. Funny, the kids didn't really seem to care about the decorations but the parents would linger,take pictures and ask questions, etc. Halloween was fun (and still is)!

Saturday, September 23, 2006

The Hatbox Ghost

For those that don't know (and for good reason-beacause they're not geeks like me and have a life-whatever...) there was a character in the Disneyland Haunted Mansion when it first opended up called the Hatbpx Ghost. It was nearby wear the bride (with the beating heart) currently is now in the attic. For some reason, mostly because th effect didn't totally work, they removed it from the attraction (not "the ride"-the "attraction"!). Well. it has created lots of talk by haunted Mansion fans alike.

Here's a picture of the actual Hatbox Ghost from the attraction:


So I decided one day to make one!

I gotta tell you this story....So, I make this skull from a photo in 'The 'E-ticket' fanzine out of Sculpey.


I want to make a transluscent, hollow cast from it. I look in the phone book under model makers, etc. and call around asking if they can do it. Most of them say that they could but I would have to order/make hundreds of them to make it worth their time. "But I only need two", I said. Finally I got in contact with someone who said "bring it by, we'll take a look at it." I did. and tis gu lokked at it and said,"You know where you need to go? There's a place about a mle from here. You go up the street, make left, over the train tracks and then make a right. You go about 3-4 blocks. There'll be a big billboard sign. There shop is under it." "Could you be any more vague", I said. So, I hopped back in the car and folowed his "directions" and miraculously, I found it!!! It happened to be lunch time and the crew were at the lunch truck. I took my ghost head (in a plastic bag, and asked one of them if they knew someone that could help me. They didn't speak english but they summoned me to follow them into the warehouse building. I could tell that I was at the right place based upon all the creatures and Halloween products. They sat me inan office and told me to wait here. A few moments later, a guy walks in and I tell heim what I need. I take out my ghost head and he recognized it right away. He agreed to make a mold and cast. Long story made short, we eventually became good friends.

So, here's how it turned out. I made a solid fugure and hatbox and put a mylon "scrimm" over both heads. I also place a light behind the figure to plunge it into silhouette which made it harder to see the heads. It was a cool effect.


The Staring Statues

First I made sculptures out of Sculpey modeling clay. The busts measure 17" tall by about 8" wide.


Then, I had a friend of a friend, use a vacuum-form machine to make the positive/negative form. The process basically works by taking a thin, hetaed sheet of plastic, draping it over the sculpture then placing it on a machine-table that has a whole bunch of tiny holes in it that's connected to a igh-poered vacuum. It sucks the air down causing the heated plastic to form around and in the shape of the sculpture. My friend had to re-cast my Sculpey models in plaster because the pressure of the vacuum would crush them to pieces. They power on the machine used wasn't great do it didn't quite capture all of the detail I put in but enough to make an impression.

The effect is basically that the busts seem to turn to follow the viewer's every movement.

Here's a photo of how the effect basically works from "behind the scenes". The viewer is actually looking at the bust/face from the reverse side. A light is placed on the other side to help light and see the details. I seem to remeber reading somewhere that the Disney imagineers discovered the effect while making cast for the 'Great Momemts with Mr. Lincoln' show.


Here's what they look like (using a Night-vison on my video camera).

How I made the Bat stanchions

First I sculpted the bat out of sculpey. For reference, I took my video camera with Night vision into the Haunted Mansion at Disneyland and took video capturing the details in close-up-so scaled 1-to-1/actual size and it's pretty close to being "on-model" as they say in my biz.)


Then I took it to a friend who helped me make a mold out of silicon (which captures every single detail-even fingerprints! That's how accurate it is!)


When they came out, they turned out great! They were made to fit onto a standard size PVC pipe. The Halloween that I made these, I was in a hurry. They were finished literally the night before Halloween. My friend showed up with them and I thought they were going to be cast in a hard resin but because of time (again) he only had time to have them cast in self-skinning foam (like a NERF footbal, etc.) I tried mounting them onto the PVC but as soon as I connected a chain between them, they slumped over because they didn't have enough strength. So I had to stick a metal pole inside of them to give them a frame/structure (the wings still sag, though).

I also faux-finished them to look like brass by first painting them with a base coat of black paint then dabbing a gold color over the black. (people think they are for real until they touch them.)

Here's the finished product.